
Cold foam has transformed the modern coffee experience. What once seemed like a café-only luxury is now a simple, achievable upgrade you can master in your own kitchen. If you’ve ever wondered how to make cold foam that is creamy, stable, and perfectly layered on iced coffee, this guide gives you everything you need—backed by experience, technique, and trusted coffee science.
This in-depth article explains how to make cold foam at home, with or without specialized tools, and covers variations using milk, half-and-half, and dairy-free alternatives. You’ll also learn how cafés like Starbucks achieve their signature texture, and how you can recreate it without expensive equipment.
Whether you are a casual coffee drinker or a daily home barista, mastering cold foam elevates both flavor and presentation while keeping calories lower than whipped cream. Let’s begin by understanding what cold foam really is and why it works.
What Is Cold Foam and Why It Works So Well on Coffee
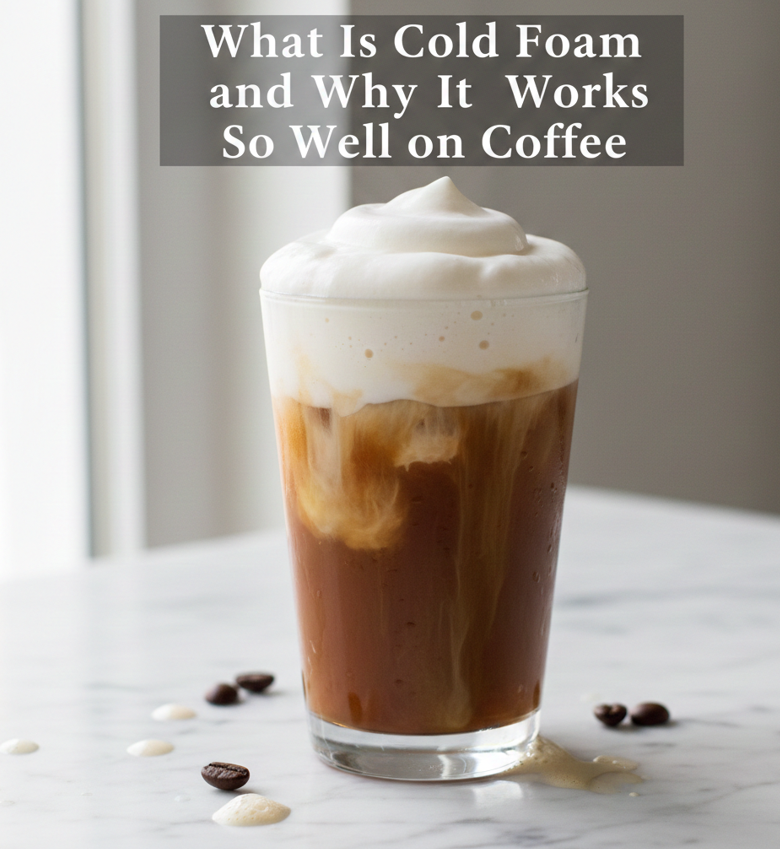
Cold foam is a light, aerated milk topping designed specifically for cold beverages. Unlike hot foam, it maintains structure without heat, allowing it to float beautifully on iced coffee, cold brew, and iced lattes.
• Cold foam relies on controlled air incorporation, not heat, to create microbubbles that give it a smooth, velvety texture.
• The protein content in milk plays a crucial role by trapping air bubbles and stabilizing the foam structure.
• Lower fat content actually improves foam stability, which is why skim or 2% milk works better than heavy cream in many cases.
• Cold foam enhances mouthfeel without overwhelming the drink, making coffee taste creamier without being heavy.
• It allows for flavor layering, as sweetened or flavored foam slowly mixes into the coffee while you drink.
• Visually, cold foam creates contrast and café-style appeal that improves perceived quality and enjoyment.
According to coffee industry studies, texture and aroma contribute up to 30% of perceived flavor, which explains why cold foam instantly makes drinks feel more premium.
Also Read:- How to Measure Ring Size: The Complete Step-by-Step Guide for Accurate Results
How to Make Cold Foam for Coffee (Complete Method Explained)
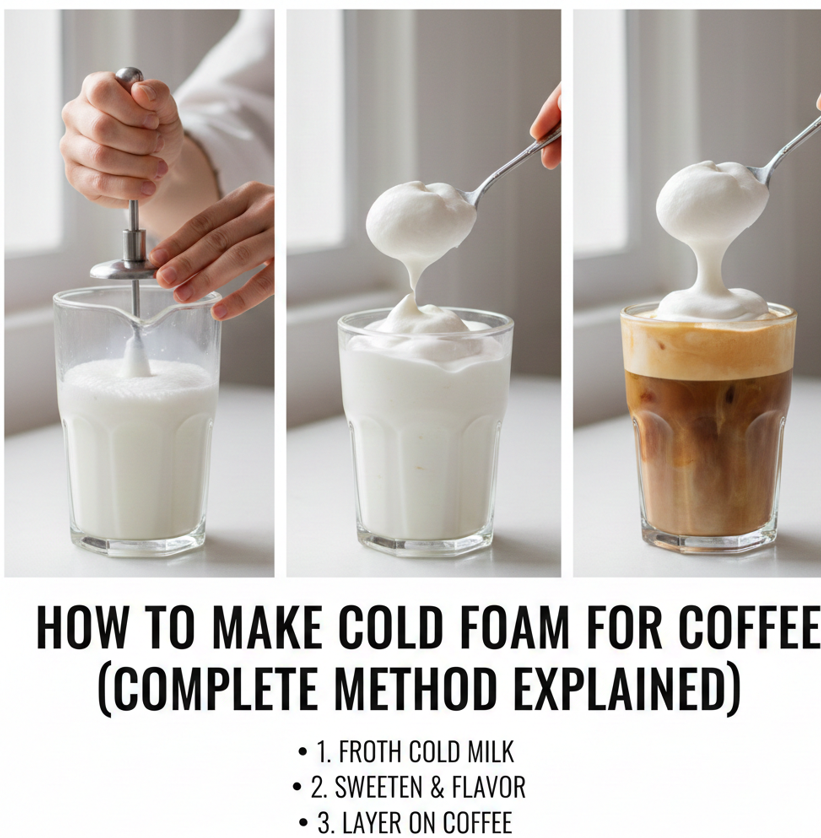
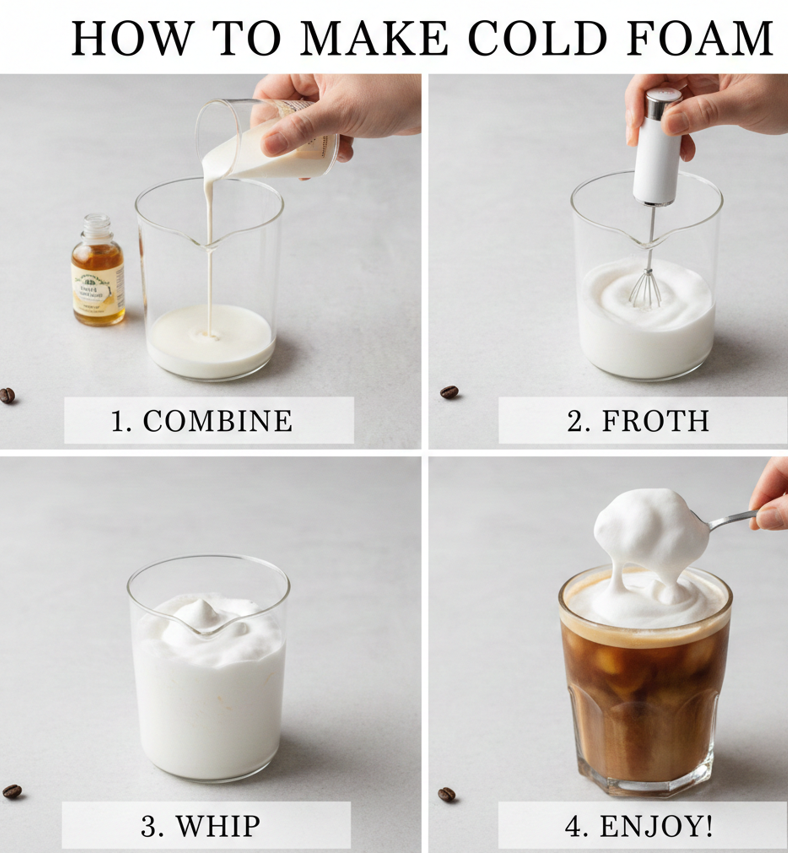
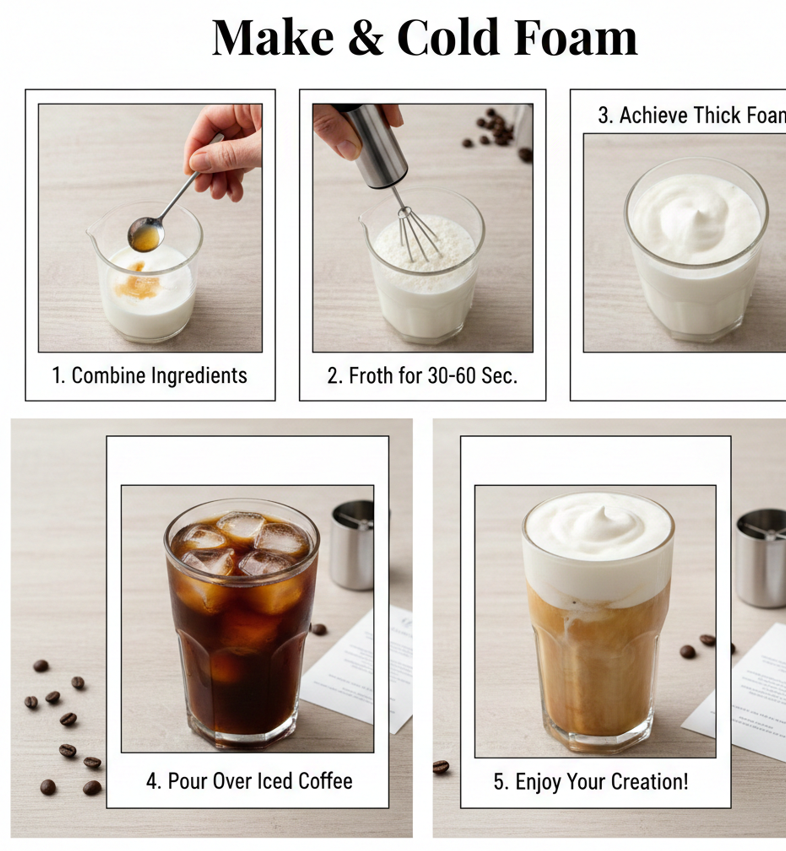
Learning how to make cold foam for coffee starts with understanding ratios, temperature, and technique. Cold foam is not whipped cream—it is intentionally lighter and less dense.
• Start with very cold milk, ideally between 34–38°F, as cold temperatures help proteins hold air longer.
• Use a container that allows space for expansion, because milk volume can double when properly aerated.
• Introduce air gradually rather than aggressively to avoid large, unstable bubbles.
• Sweeteners dissolve best when added before frothing to ensure even distribution.
• Foam should be thick enough to float but fluid enough to pour smoothly.
• Proper cold foam settles slowly, creating a layered effect instead of instantly mixing.
This method works especially well for cold brew, iced americanos, and iced lattes, where foam texture plays a major role in balance.
Also Read:- How to Tell If Eggs Are Good: The Complete Safety & Freshness Guide
How to Make Cold Foam at Home (Beginner-Friendly Process)
One of the biggest misconceptions is that cold foam requires café-grade tools. In reality, learning how to make cold foam at home is more about technique than equipment.
• Most home kitchens already contain at least one tool capable of creating foam, such as a jar or blender.
• Home-made cold foam gives you control over sweetness, thickness, and ingredients.
• Making foam yourself avoids preservatives often found in pre-made café syrups.
• You can adapt the foam to different diets, including low-fat and dairy-free lifestyles.
• Freshly made foam tastes cleaner and lighter than store-bought alternatives.
• Practicing at home builds consistency, allowing repeatable café-quality results.
Internal linking suggestion: Link to an article on “Best Milk for Coffee Drinks” to support ingredient selection.
Also Read:- How to Pronounce Gyro: The Complete, Accurate Guide You Can Trust
How to Make Cold Foam Without Heavy Cream (Healthier Alternative)
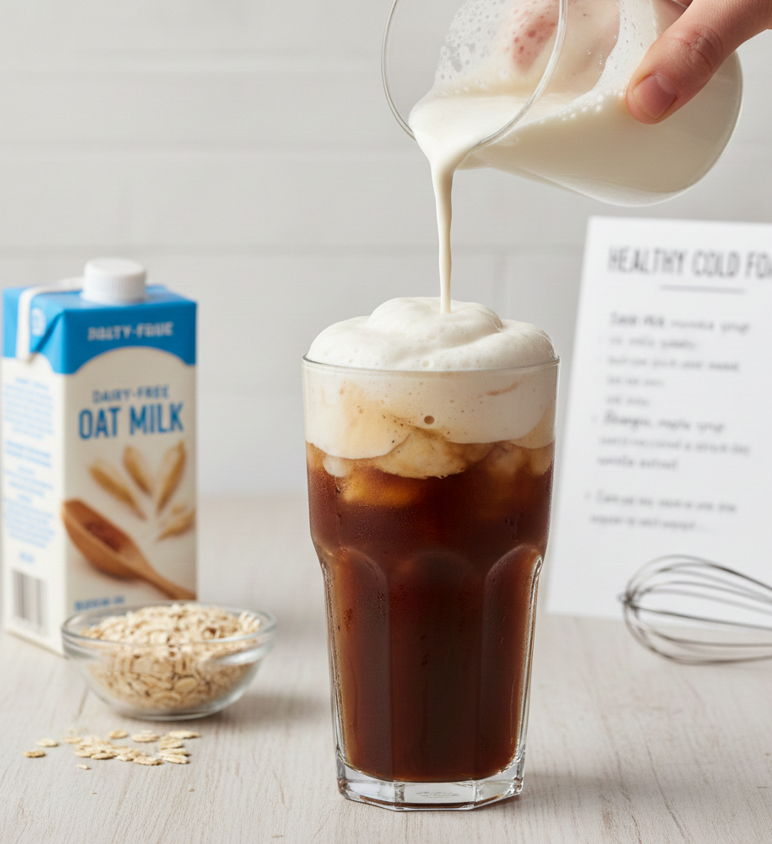
If you prefer a lighter option, learning how to make cold foam without heavy cream is essential. Contrary to intuition, heavy cream is not ideal for traditional cold foam.
• Lower-fat milk produces more stable microfoam due to higher protein-to-fat ratios.
• Skim and 2% milk are widely used by professional coffee chains for this reason.
• Reduced fat means fewer calories while maintaining creamy texture.
• Foam made without heavy cream integrates more smoothly with coffee.
• It avoids the greasy mouthfeel that can mask coffee flavors.
• This approach aligns better with daily coffee consumption habits.
Nutrition data from dairy research organizations shows skim milk can foam up to 60% more efficiently than heavy cream.
Also Read:- How to Parallel Park: The Complete Step-by-Step Guide for Beginners and Pros
How to Make Cold Foam Without a Frother (No Tools Required)
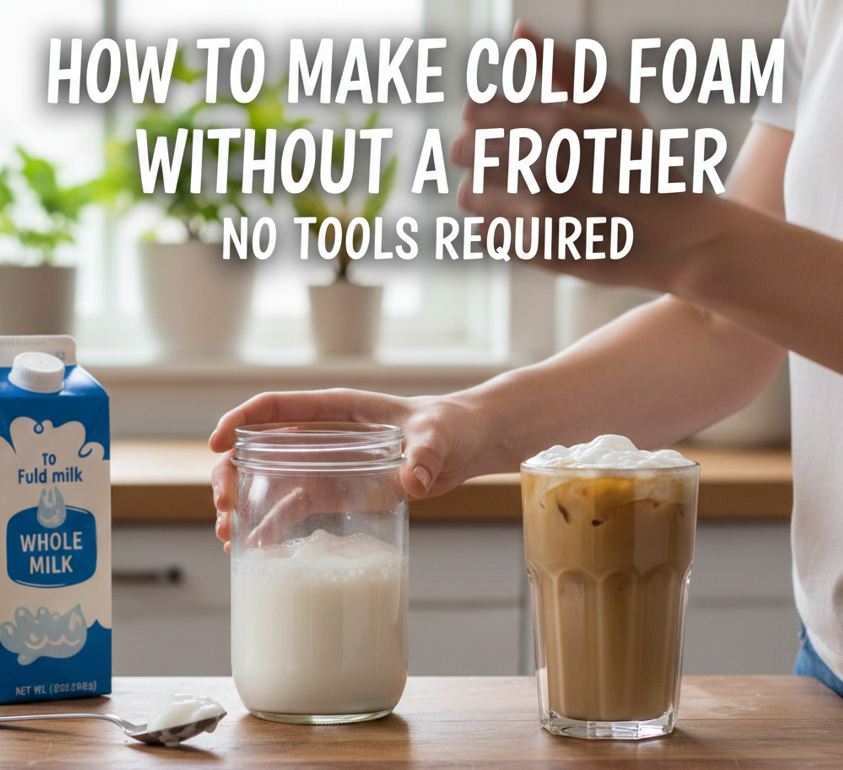
Not owning a frother should never stop you from enjoying cold foam. Understanding how to make cold foam without a frother opens the door to accessible coffee upgrades.
• A tightly sealed jar can generate foam through vigorous shaking.
• A French press naturally incorporates air using manual plunging.
• A handheld whisk can work when used with fast, controlled motion.
• Immersion blenders provide powerful aeration with minimal effort.
• The key is consistent movement rather than speed alone.
• Tool-free methods allow experimentation without additional cost.
External reference suggestion: Link to a trusted coffee authority like the Specialty Coffee Association for foam science explanations.
Also Read:- How to Get Blood Out of Clothes (Complete Expert Guide)
How to Make Cold Foam Like Starbucks (Professional Technique)
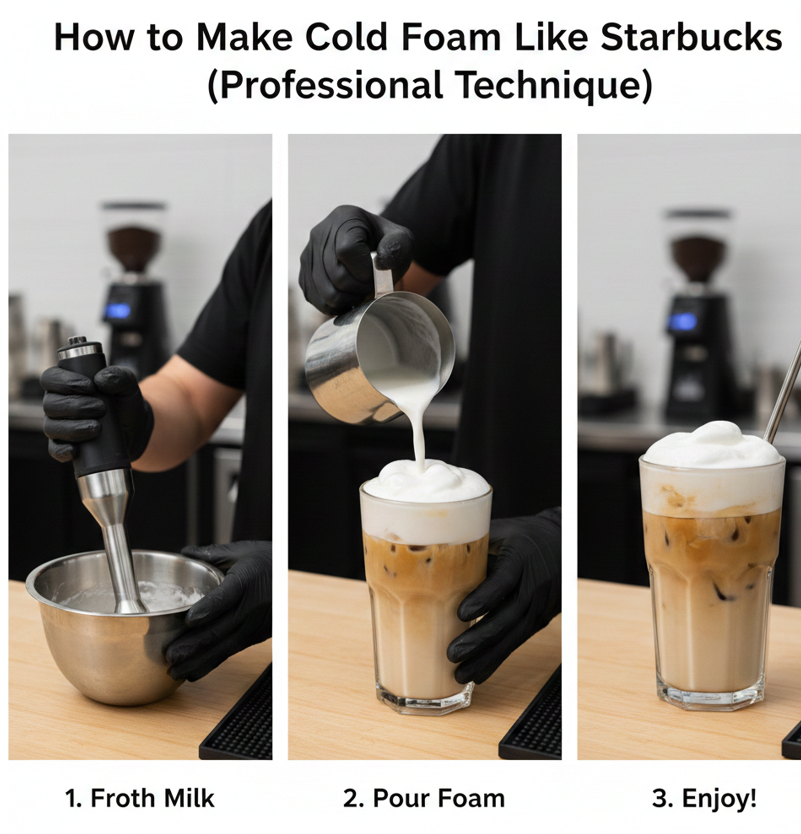
Many people search for how to make cold foam like Starbucks because of its smooth, pourable consistency and balanced sweetness.
• Starbucks uses nonfat milk to maximize foam volume and stability.
• Their foam is lightly sweetened to enhance, not overpower, coffee flavor.
• Industrial blenders create extremely fine microbubbles.
• Foam is prepared fresh for each drink, ensuring optimal texture.
• Vanilla or flavored versions rely on syrup added before blending.
• Replicating this at home focuses on milk choice and blending time.
By matching milk type and aeration style, you can achieve a near-identical result at home.
Also Read:- How to Cut a Pomegranate (Complete Step-by-Step Guide)
How to Make Cold Foam With Half and Half (Creamier Texture)
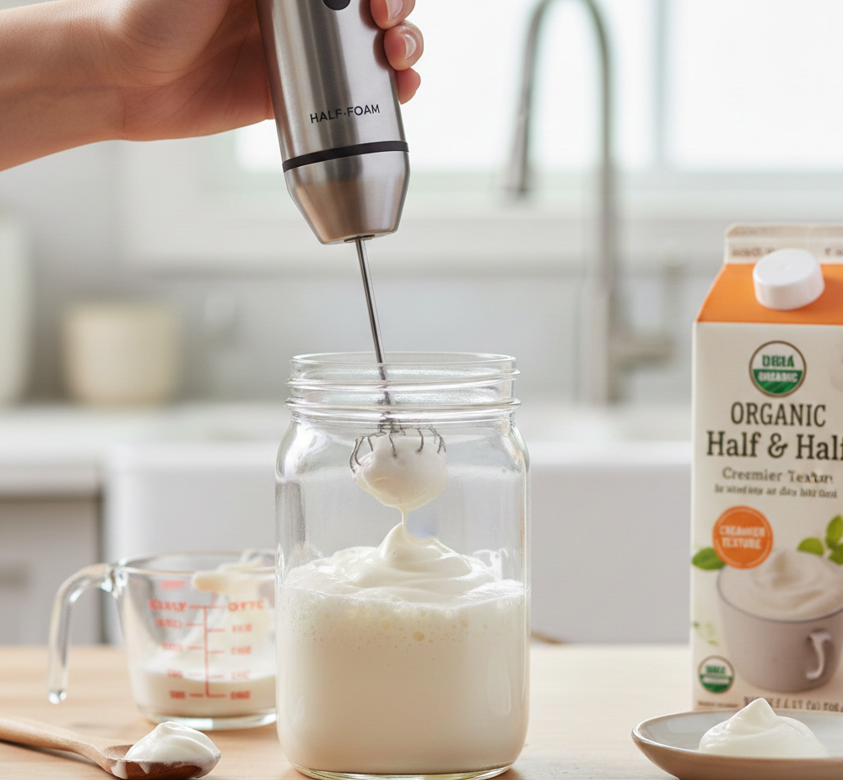
For those who prefer richness, learning how to make cold foam with half and half provides a balance between milk and cream.
• Half and half contains enough fat to enhance mouthfeel without collapsing foam.
• It creates a silkier texture than skim milk while remaining pourable.
• Foam density works well for dessert-style iced coffees.
• Sweeteners dissolve more smoothly in higher fat content.
• It pairs especially well with chocolate or caramel flavors.
• Best results come from blending rather than shaking.
This variation is ideal for indulgent drinks without full whipped cream heaviness.
How to Make Cold Foam With Milk (Most Versatile Method)
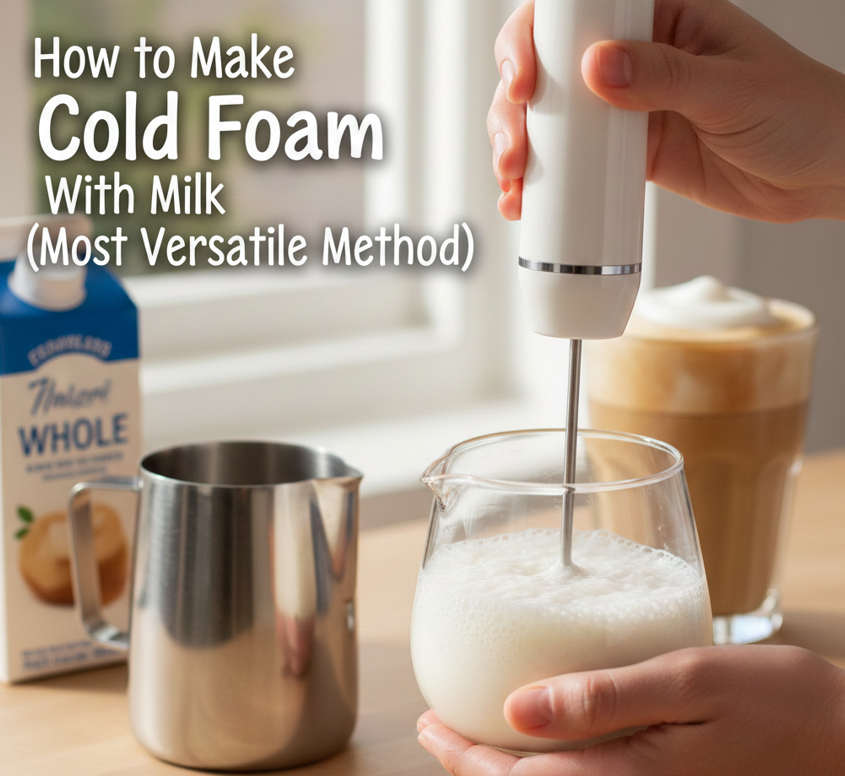
The most common and reliable approach is learning how to make cold foam with milk, which suits nearly every coffee style.
• Milk proteins stabilize air bubbles effectively.
• Different fat levels allow customization of thickness and flavor.
• Milk is affordable and widely available.
• It blends seamlessly with coffee flavors.
• Foam made with milk holds longer than most alternatives.
• It supports flavored and unflavored variations equally well.
Barista training manuals consistently recommend milk-based foam for cold drinks due to its reliability.
Best Milk Types for Cold Foam (Quick Comparison)
• Skim milk: Maximum foam, light texture
• 2% milk: Balanced foam and creaminess
• Whole milk: Thicker but less volume
• Half and half: Rich, dessert-style foam
• Oat milk (barista): Good dairy-free option
• Almond milk: Light foam, nutty flavor
Common Cold Foam Mistakes to Avoid
• Using warm milk
• Over-blending into stiff foam
• Adding sweetener after frothing
• Choosing high-fat cream unintentionally
• Pouring too quickly onto coffee
• Letting foam sit too long before use
Conclusion:
Learning how to make cold foam is one of the simplest ways to elevate your coffee routine without expensive tools or professional training. With the right milk, proper temperature, and controlled aeration, you can consistently create café-quality foam at home. Whether you prefer a Starbucks-style finish, a lighter skim-milk foam, or a richer half-and-half variation, cold foam adapts to your taste and lifestyle.
By focusing on technique rather than equipment, you gain full control over flavor, texture, and quality—turning everyday iced coffee into a premium experience.
FAQs
Is cold foam the same as whipped cream?
No. Cold foam is lighter, less sweet, and designed to mix gradually with coffee.
Can I make cold foam dairy-free?
Yes. Barista-style oat milk and soy milk foam best.
How long does cold foam last?
Ideally used immediately, but it can hold for up to 10 minutes when refrigerated
For More Updates Visit: Biomagazine