
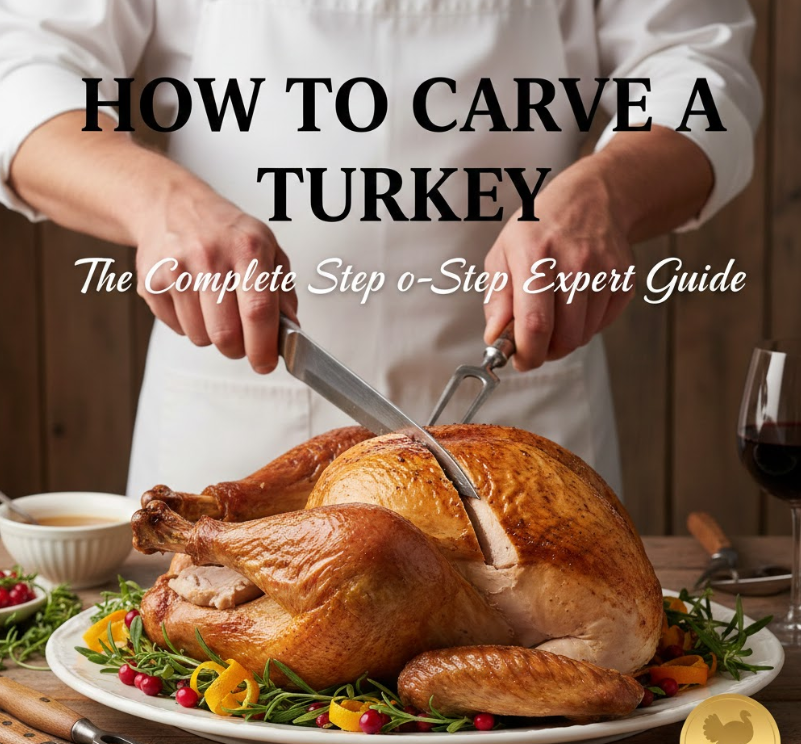
Carving a turkey is one of the most important steps in preparing a memorable holiday meal. Whether you’re hosting Thanksgiving, a festive dinner, or a family gathering, knowing how to carve a turkey properly ensures beautiful presentation, maximum meat yield, and an enjoyable dining experience. Many people spend hours roasting the turkey but feel unsure when it’s time to carve it. With the right techniques, tools, and knowledge, anyone can carve a turkey confidently and professionally.
According to the National Turkey Federation, millions of households prepare turkey each year, but improper carving often leads to wasted meat and uneven slices. Learning proper carving techniques helps preserve moisture, improve presentation, and make serving easier. Professional chefs, including Gordon Ramsay, emphasize that carving correctly enhances both flavor and visual appeal.
This comprehensive guide explains everything you need to know, including how to carve a turkey breast, how to carve a turkey with pictures and diagrams, and how to carve a turkey using an electric knife. By following these expert-level instructions, you’ll master turkey carving with confidence.
Why Learning How to Carve a Turkey Properly Matters
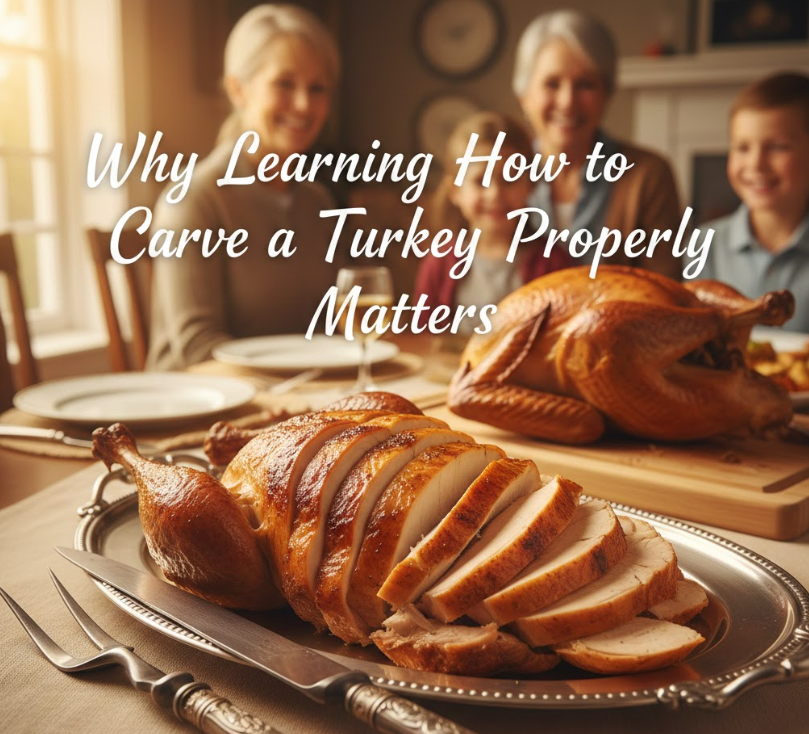
Carving a turkey is more than simply slicing meat—it’s about preserving flavor, texture, and presentation. Proper carving ensures that each slice remains juicy, evenly cut, and visually appealing.
Definition and Importance
Carving a turkey means separating the cooked bird into organized sections such as breast meat, thighs, drumsticks, and wings. This process requires precision and knowledge of turkey anatomy. When done correctly, carving prevents tearing and preserves the turkey’s natural juices.
Professional carving improves serving efficiency and ensures guests receive balanced portions. It also minimizes waste, allowing you to utilize nearly all edible meat.
Key Benefits of Proper Turkey Carving
• Preserves Juiciness and Flavor
Proper carving helps retain natural juices inside the meat. When you cut against the grain correctly, moisture remains trapped within each slice. This prevents dryness and enhances taste significantly. Moist slices are more enjoyable and visually appealing for guests.
• Improves Presentation and Appearance
Neatly carved turkey slices create a professional presentation. Organized slices arranged on a platter look elegant and appetizing. Guests are more likely to enjoy food that appears visually appealing. Proper carving also reflects cooking expertise and preparation skills.
• Maximizes Meat Yield and Reduces Waste
Correct carving techniques ensure you remove every edible portion efficiently. Many beginners leave valuable meat attached to bones. Skilled carving allows full utilization of breast, thigh, and wing meat. This improves value and reduces unnecessary waste.
• Makes Serving Easier and Faster
Carving beforehand simplifies serving during meals. Guests can easily select preferred portions without struggling. This improves meal flow and enhances hosting efficiency. Organized carving saves time and reduces stress during gatherings.
• Improves Texture and Tenderness
Cutting against the grain shortens muscle fibers. This makes meat easier to chew and improves tenderness. Incorrect slicing can create tough, unpleasant textures. Proper carving enhances the overall eating experience.
• Enhances Safety During Cutting
Structured carving methods reduce the risk of knife slips and injuries. Using proper techniques improves control and stability. Safe carving protects both the carver and surrounding guests.
Essential Tools Needed to Carve a Turkey
Having the right tools makes turkey carving easier, safer, and more precise. Professional results depend heavily on proper equipment.
Basic Turkey Carving Tools Explained
Using specialized carving tools ensures cleaner cuts and better control. These tools improve efficiency and presentation quality.
Must-Have Tools
• Sharp Carving Knife
A sharp carving knife is the most important tool. Sharp blades cut smoothly without tearing meat. This preserves texture and appearance. Dull knives require more force and increase accident risk.
• Carving Fork for Stability
A carving fork holds the turkey securely while cutting. This prevents slipping and improves precision. Stable positioning ensures safer carving and cleaner slices.
• Large Cutting Board with Groove
A cutting board with juice grooves collects excess liquids. This keeps your workspace clean and prevents spills. It also improves carving control.
• Electric Knife (Optional but Helpful)
Electric knives simplify slicing, especially for beginners. They create uniform slices quickly. Many professionals use electric knives for efficiency.
• Serving Platter
A large platter organizes carved meat attractively. Proper plating enhances presentation and serving convenience.
• Kitchen Towels for Grip and Safety
Towels help stabilize the turkey and absorb excess moisture. They improve grip and prevent slipping.
The United States Department of Agriculture recommends using clean, sharp tools to ensure food safety and prevent contamination.
Also Read:- How to Sell Pokémon Cards: The Complete Expert Guide to Maximizing Value
How to Carve a Turkey Properly: Step-by-Step Guide
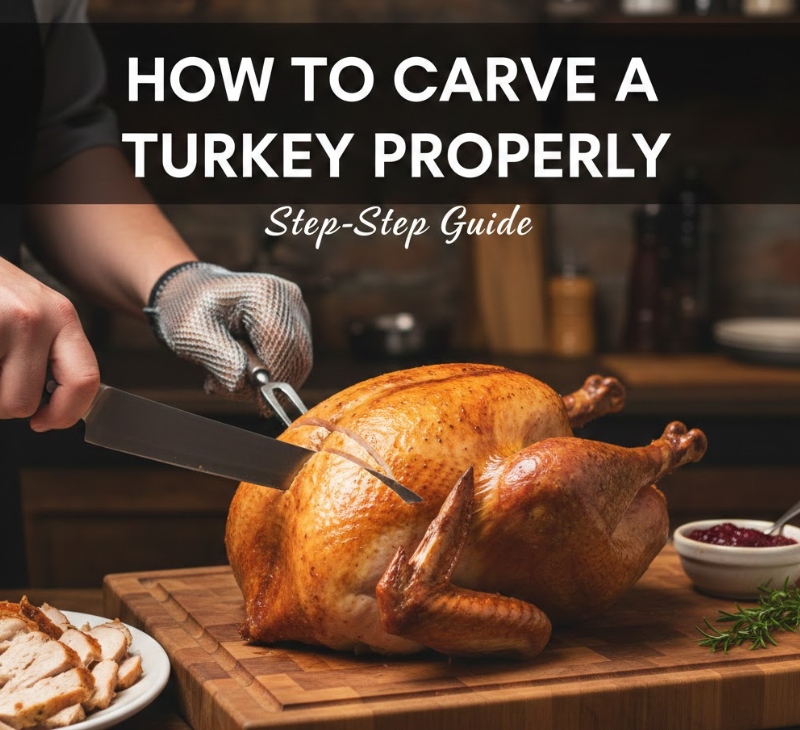
Learning the correct carving sequence ensures clean cuts and maximum meat yield.
Step-by-Step Turkey Carving Process
• Allow the Turkey to Rest Before Carving
Let the turkey rest for 20–30 minutes after roasting. Resting allows juices to redistribute evenly. Cutting immediately causes juice loss and dry meat. Rested turkey produces better carving results.
• Remove the Legs and Thighs First
Pull the leg gently away from the body. Cut through the joint where the thigh meets the body. This separates dark meat sections cleanly.
• Separate Drumsticks from Thighs
Locate the joint between thigh and drumstick. Cut carefully through the joint. This creates two separate portions.
• Remove the Wings Carefully
Pull each wing outward and cut at the joint. Wings separate easily with proper technique. Removing wings improves access to breast meat.
• Slice the Breast Meat Properly
Make a deep cut along one side of the breastbone. Slice downward and outward. Cut against the grain for tender slices.
• Arrange Meat Neatly on Serving Platter
Organize slices by type. Keep breast, thigh, and wings separate. This improves presentation and accessibility.
Also Read:- How to Sell Gold: The Complete Expert Guide to Getting the Best Value
How to Carve a Turkey Breast
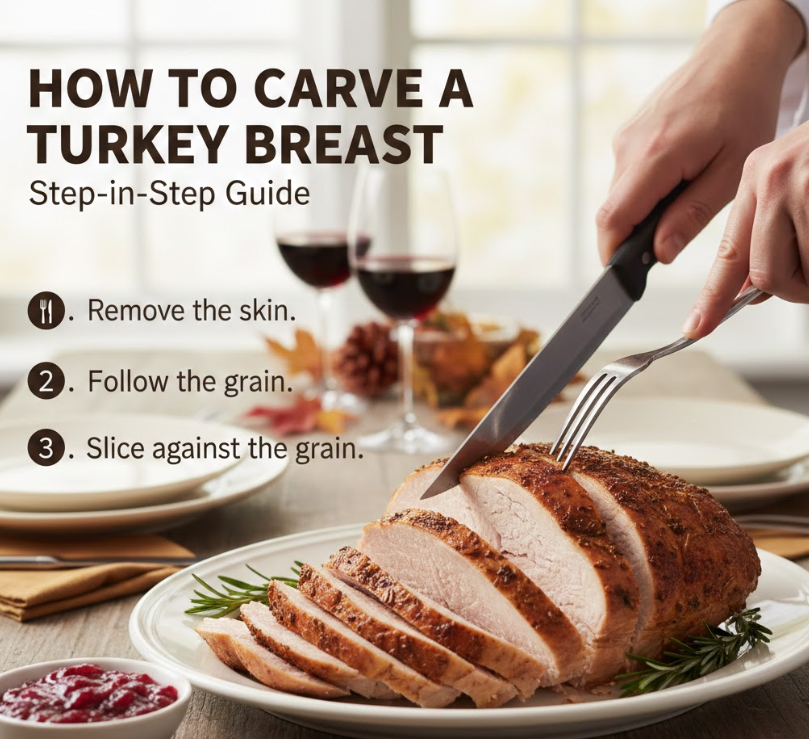
Turkey breast meat is the most popular and delicate section. Proper carving preserves tenderness and moisture.
Definition and Overview
Turkey breast carving involves slicing large sections into thin, uniform portions. This process requires cutting against the grain for optimal tenderness.
Detailed Turkey Breast Carving Steps
• Locate the Breastbone First
The breastbone runs along the center of the turkey. It acts as your carving guide. Cutting beside it helps remove breast sections cleanly.
• Make a Deep Vertical Cut Along the Breastbone
Insert the knife and cut downward carefully. This separates the breast meat from the bone structure. Precision is essential for clean removal.
• Slice the Breast Meat Horizontally Against the Grain
Cut thin slices perpendicular to muscle fibers. This improves tenderness and texture. Thin slices also enhance presentation.
• Use Long, Smooth Knife Motions
Avoid sawing motions. Smooth cuts preserve meat structure. This improves appearance and quality.
• Remove Entire Breast Section if Needed
You can remove the whole breast first. Then slice separately on the cutting board. This provides greater control.
• Arrange Slices Neatly for Serving
Organized slices improve presentation. Even thickness ensures consistent texture.
Also Read:- How to Store Peaches: The Complete Expert Guide to Keeping Peaches Fresh Longer
How to Carve a Turkey with Pictures
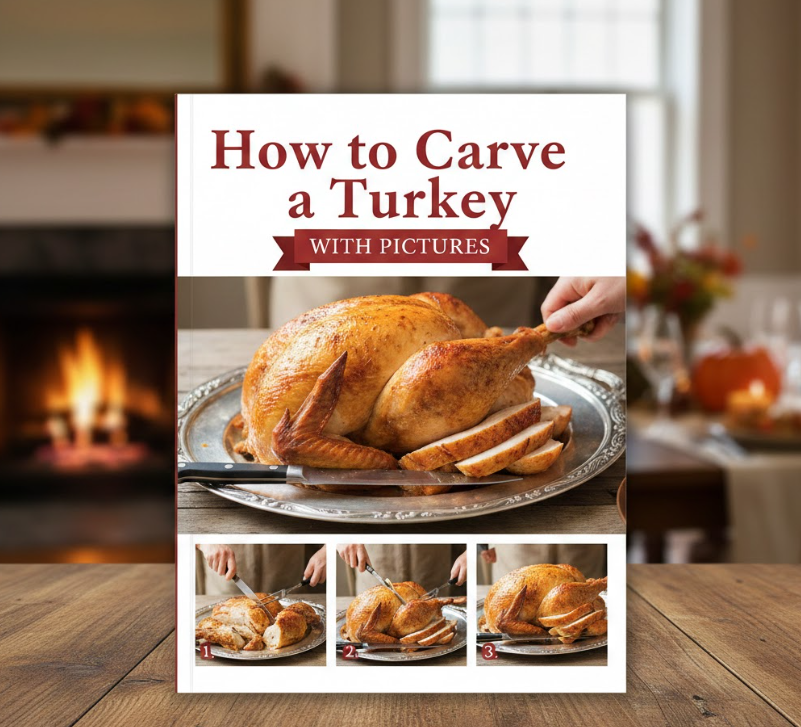
Visual learning improves carving accuracy and confidence. Pictures help identify joints and cutting angles.
Importance of Visual Guides
Pictures illustrate proper knife placement and carving direction. They help beginners understand anatomy and technique.
Key Picture-Based Carving Tips
• Identify Joint Locations Visually
Pictures help locate joints accurately. Cutting joints prevents unnecessary force. This improves safety.
• Follow Directional Cutting Guides
Visual arrows show proper cutting direction. This improves precision.
• Understand Muscle Grain Direction
Pictures reveal grain orientation. Cutting against grain improves tenderness.
• Learn Proper Knife Angles
Images demonstrate correct angles. Proper angles improve slice quality.
• Improve Confidence Through Visual Learning
Visual reference reduces uncertainty. This builds carving confidence.
• Enhance Professional Presentation Skills
Pictures help replicate professional carving techniques.
Also Read:- How to Make a Paper Airplane: The Ultimate Step-by-Step Guide for Distance, Speed, and Fun
How to Carve a Turkey Diagram Guide
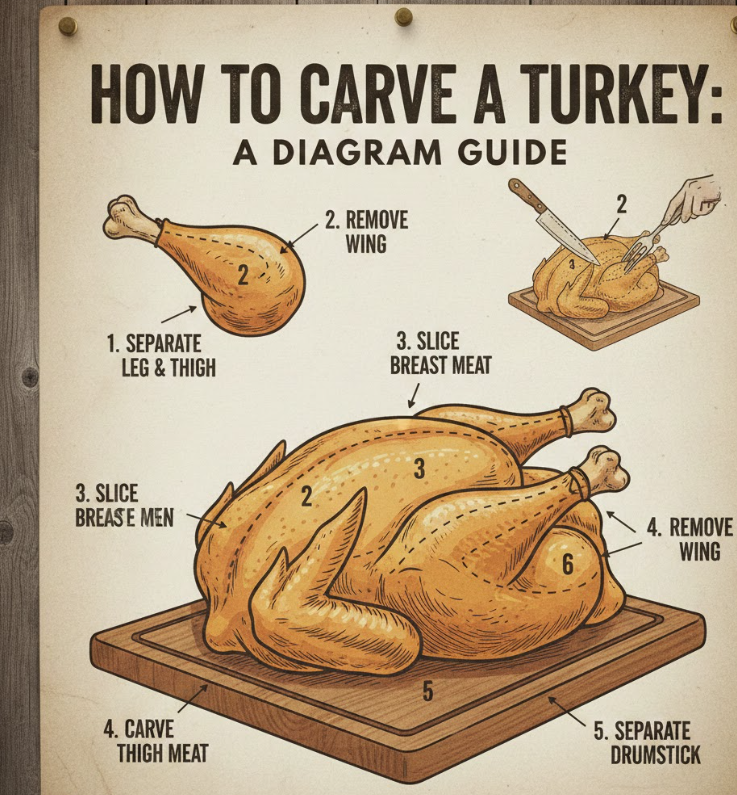
Diagrams provide detailed anatomical understanding. They simplify complex carving steps.
Definition and Purpose
A turkey carving diagram shows bone structure, joints, and muscle sections. This improves carving accuracy.
Diagram-Based Carving Benefits
• Improves Understanding of Turkey Anatomy
Diagrams show bone and joint placement clearly.
• Helps Avoid Cutting Mistakes
Clear guidance reduces errors.
• Enhances Precision and Efficiency
Accurate carving saves time.
• Improves Safety During Cutting
Better understanding reduces accidents.
• Maximizes Meat Removal Efficiency
Diagrams help remove all edible meat.
• Supports Beginner Learning Process
Visual diagrams simplify learning.
Also Read:- How to Cut a Mango: The Complete Step-by-Step Guide for Perfect Slices and Cubes
How to Carve a Turkey with an Electric Knife
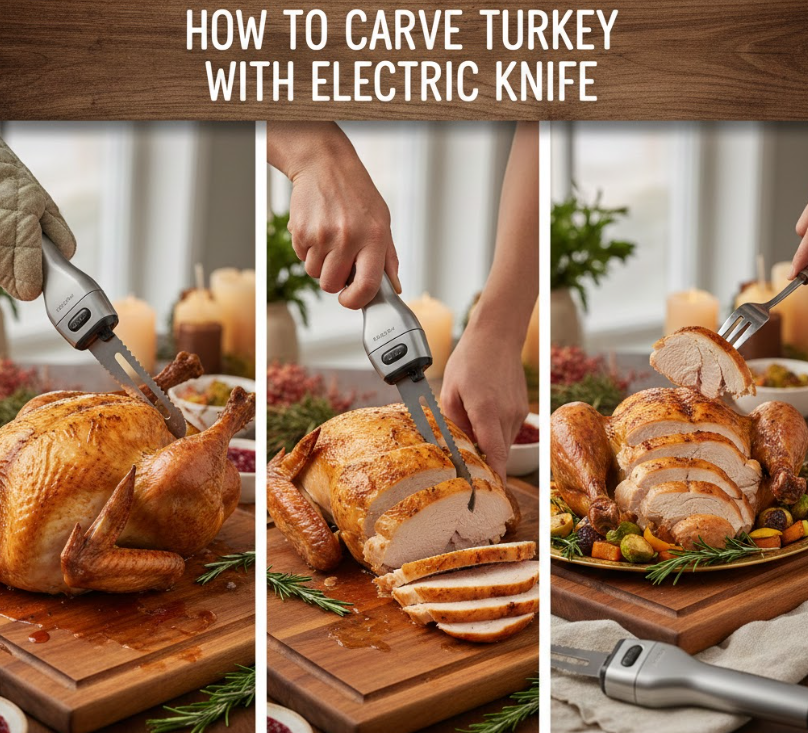
Electric knives simplify carving and improve slice uniformity.
Benefits of Electric Knife Carving
Electric knives use motorized blades for smooth slicing.
Electric Knife Carving Steps
• Turn on Knife Before Contact
This prevents tearing meat.
• Use Gentle Pressure Only
Let knife do the work.
• Slice Slowly and Evenly
Maintain control for uniform slices.
• Follow Breastbone as Guide
Ensures proper cutting direction.
• Clean Blade Between Cuts
Maintains hygiene and precision.
• Use for Large Turkey Carving Efficiency
Electric knives save time and effort.
Common Turkey Carving Mistakes to Avoid
Avoiding mistakes improves carving success.
• Cutting too soon without resting
• Using dull knives
• Cutting with grain
• Ignoring joint locations
• Applying too much force
• Poor presentation planning
Also Read:- How to Meditate Properly: The Complete Beginner-to-Advanced Guide
Conclusion: Mastering How to Carve a Turkey
Learning how to carve a turkey properly transforms your cooking experience and presentation quality. Proper carving improves meat tenderness, preserves flavor, and enhances visual appeal. Whether using a traditional carving knife, following diagrams, or using an electric knife, mastering carving techniques ensures professional results.
With practice, patience, and proper tools, anyone can carve a turkey confidently. Following the expert steps outlined in this guide will help you serve beautiful, juicy turkey slices every time.
Frequently Asked Questions (FAQs)
How long should turkey rest before carving?
Allow turkey to rest 20–30 minutes for best results.
Should I carve turkey hot or warm?
Carve when warm, not extremely hot.
Is electric knife better for carving turkey?
Yes, electric knives improve slicing precision and ease.
What is the easiest part to carve?
Breast meat is easiest and most popular.
For More Updates Visit: Biomagazine